> ## Documentation Index
> Fetch the complete documentation index at: https://context7-ctx7-1846-helm-manifests.mintlify.site/llms.txt
> Use this file to discover all available pages before exploring further.
# Authentication
> How to authenticate requests to your on-premise Context7 instance
The on-premise API supports API keys for server-to-server and MCP access. Pass the key in the `Authorization` header:
```bash theme={null}
Authorization: Bearer ctx7op-xxxxxxxx_xxxxxxxxxxxxxxxx
```
Keys are scoped to the user account that created them and inherit that user's role (`admin` or `member`). There are no per-key scopes or expiry - revoke a key to invalidate it.
## Creating an API Key
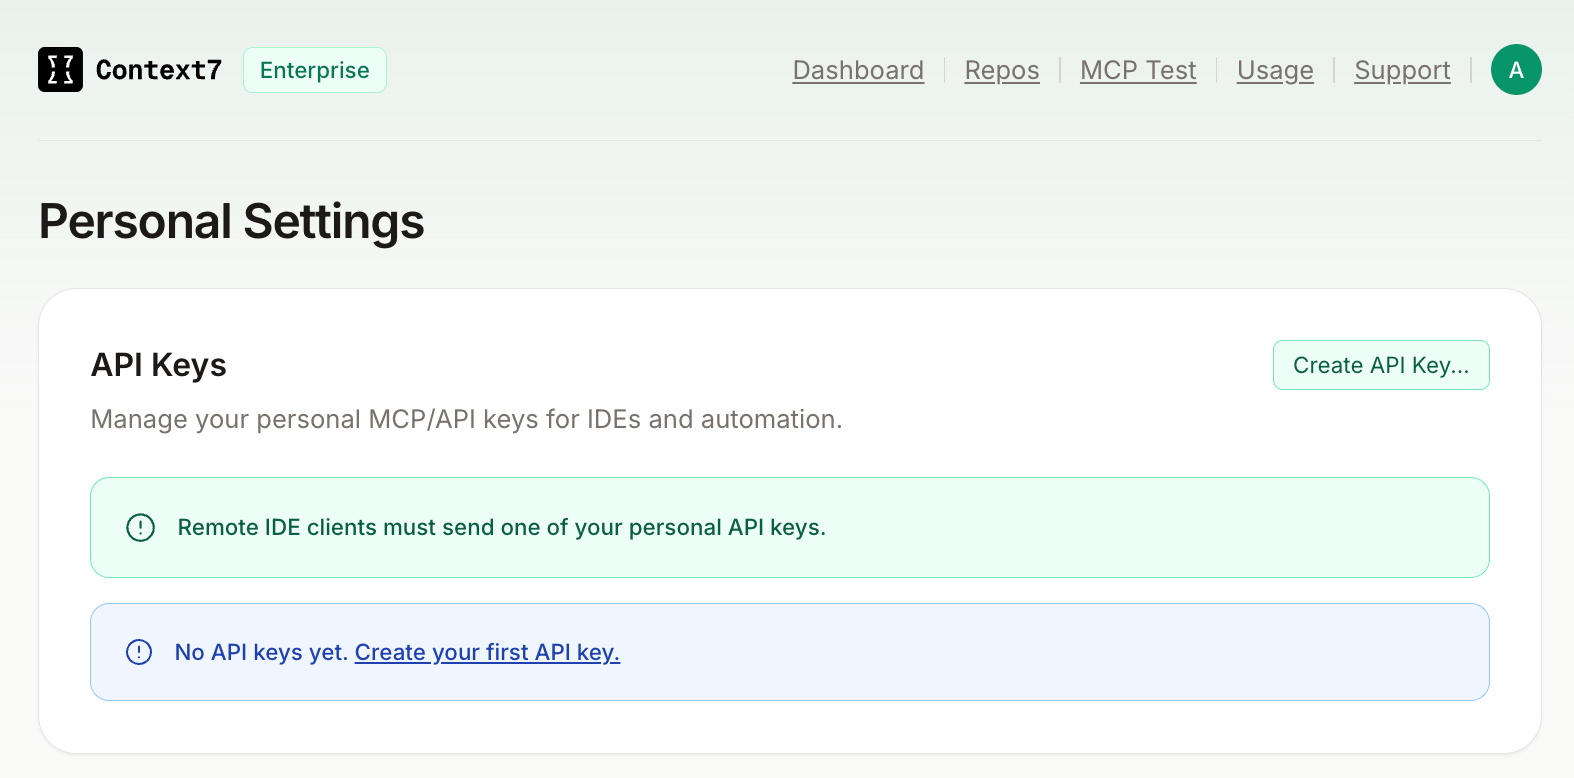
Go to **Personal Settings > API Keys** in the admin dashboard and click **Create API Key**.
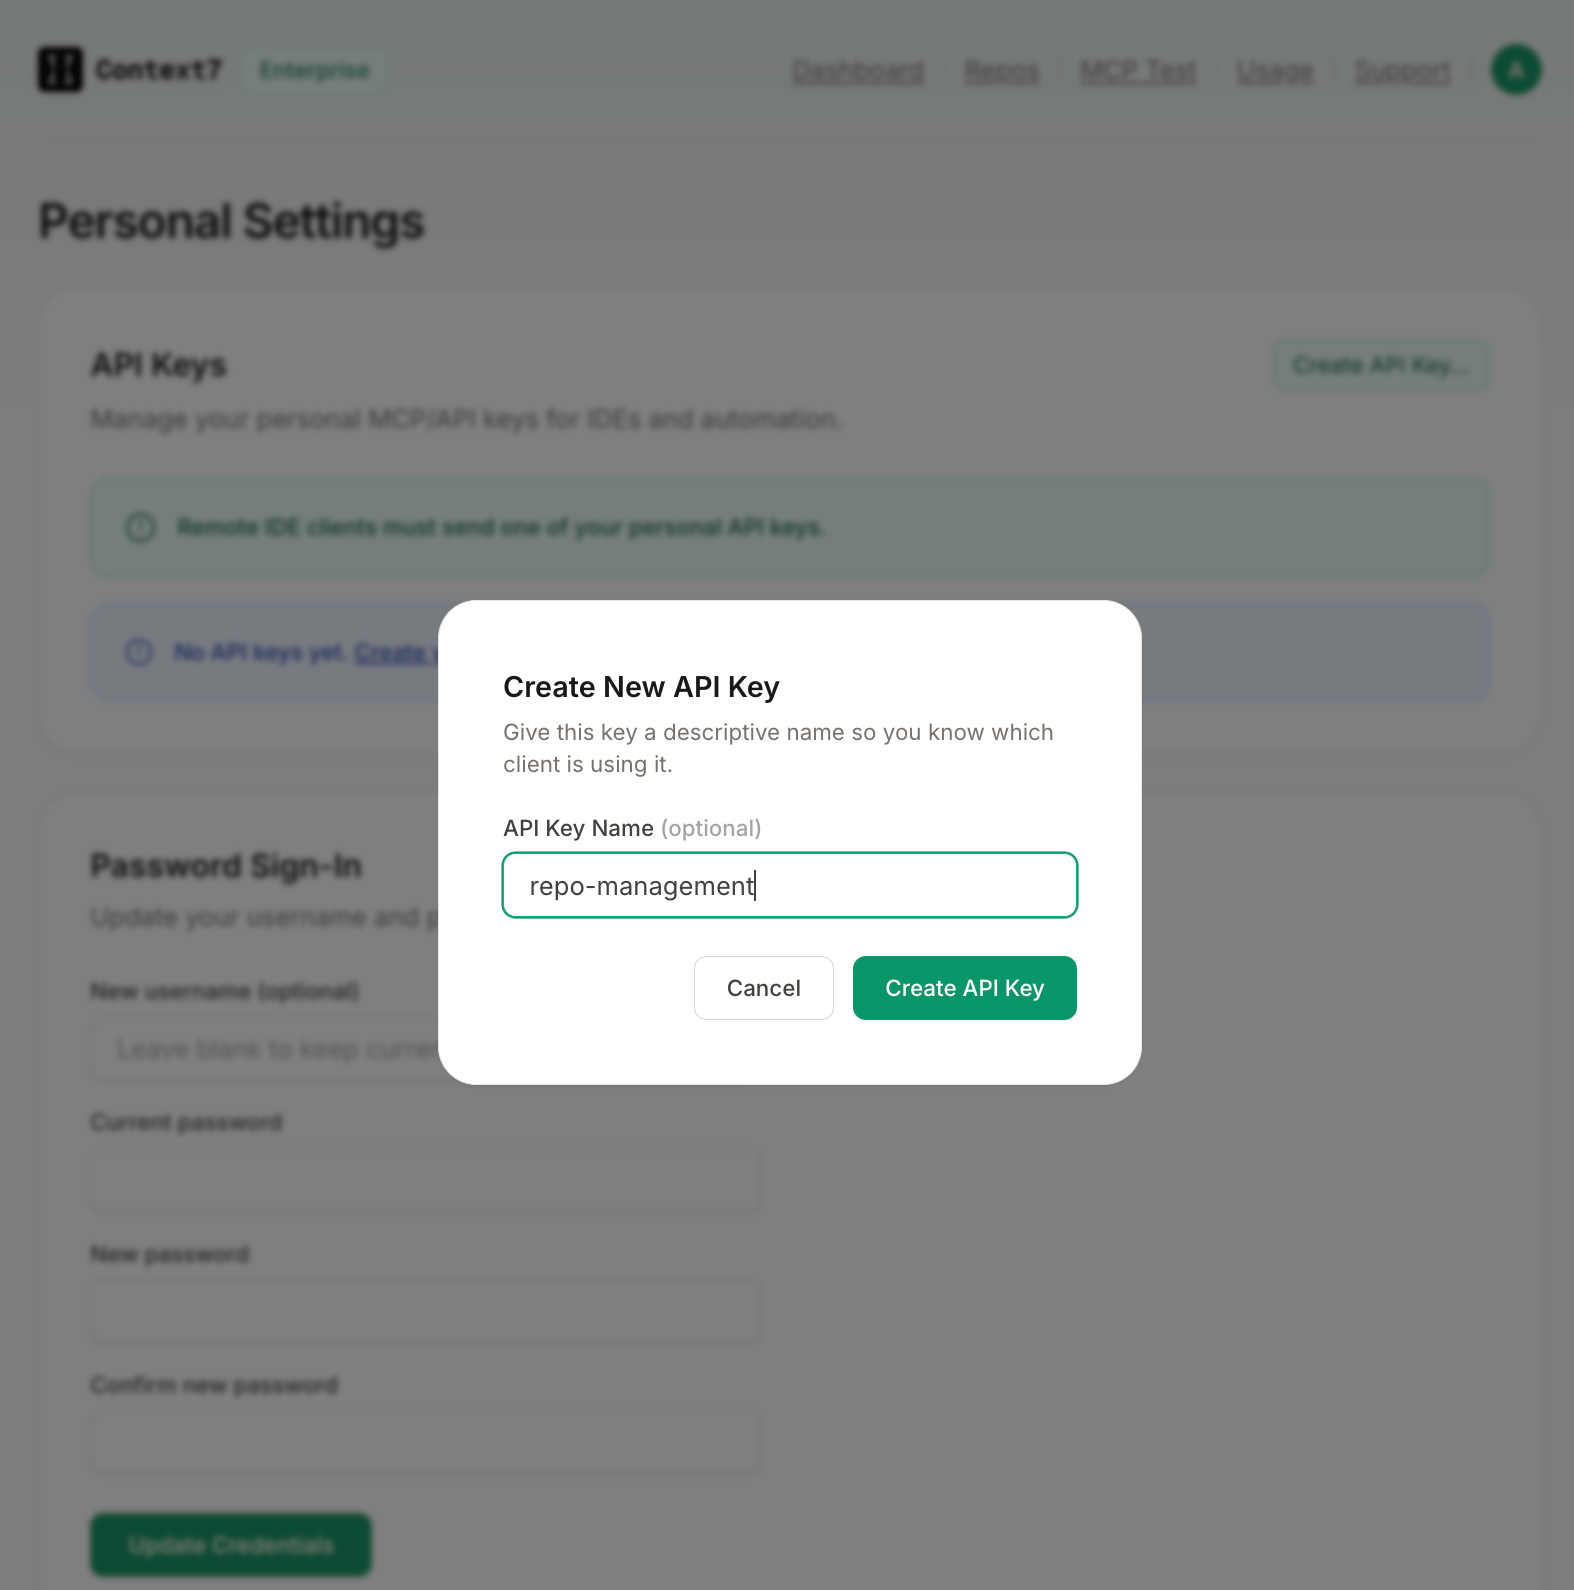
 Give the key a descriptive name so you know which client or service is using it (e.g. `CI pipeline`, `Cursor`).
 Copy the full key value before closing the dialog. It is only shown once.
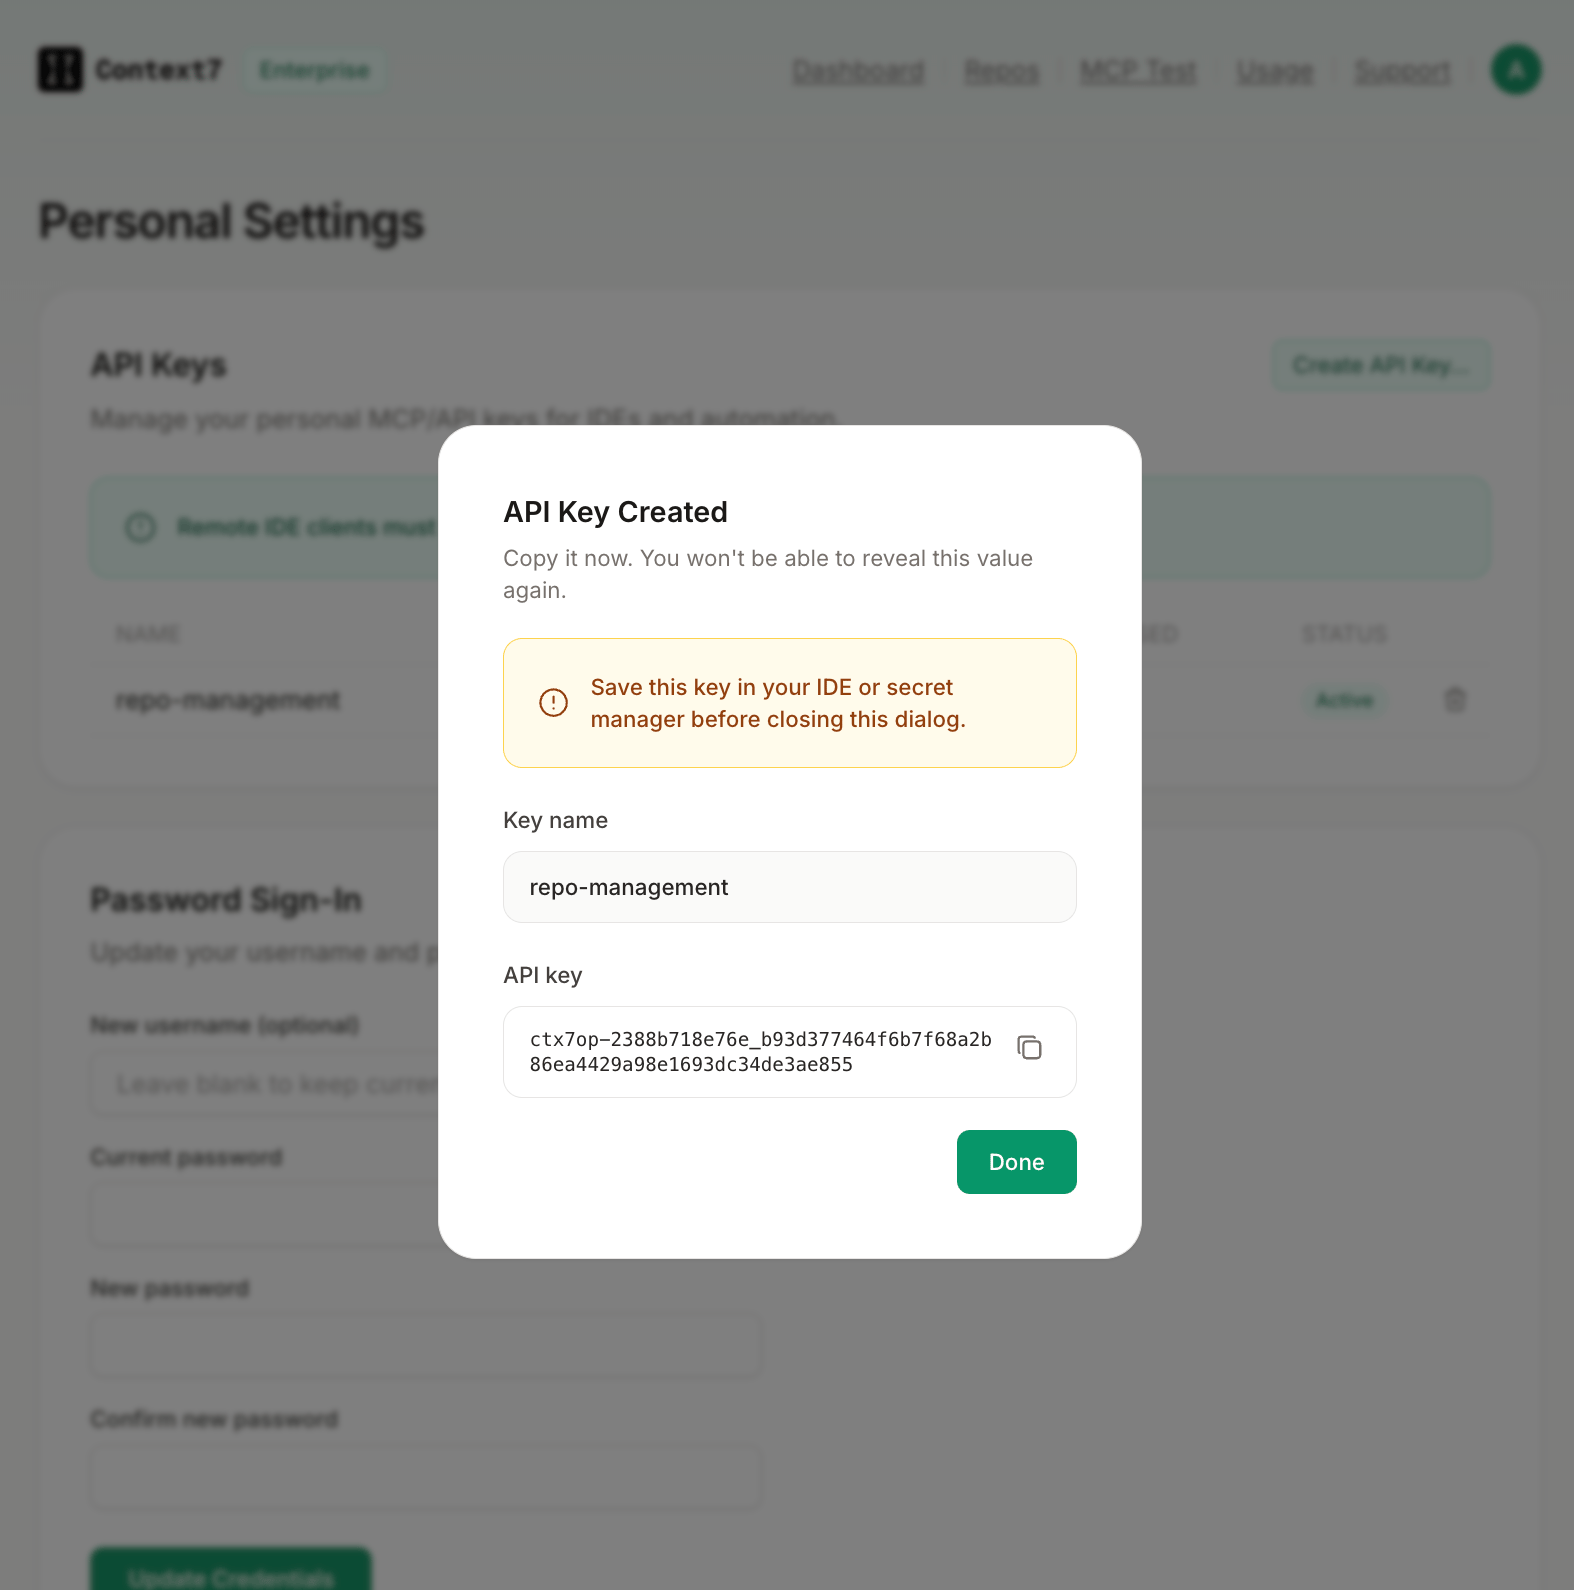 API keys are shown only once at creation. Store yours securely before closing the dialog.
## Revoking a Key
Go to **Settings > API Keys** and click the delete icon next to the key. Revocation is immediate and cannot be undone. Update any integrations using the key before revoking.
## Roles
| Role | Access |
| -------- | --------------------------------------------------------------------------------------- |
| `admin` | Full access to all endpoints including settings, user management, and delete operations |
| `member` | Can trigger parsing and search. Cannot access admin endpoints |
Default credentials on a fresh install are `admin` / `admin`. Change them immediately from **Settings > Change Credentials**.
## Anonymous Access
Certain operations can be allowed without authentication. Configure them from **Settings > Permissions**:
| Permission | Default |
| ------------------------- | ------- |
| Anonymous parse / refresh | Off |
| Anonymous delete | Off |
The search (`GET /v2/libs/search`) and context (`GET /v2/context`) endpoints are always publicly accessible unless a global `API_KEY` environment variable is set, in which case every endpoint requires a bearer token.
API keys are shown only once at creation. Store yours securely before closing the dialog.
## Revoking a Key
Go to **Settings > API Keys** and click the delete icon next to the key. Revocation is immediate and cannot be undone. Update any integrations using the key before revoking.
## Roles
| Role | Access |
| -------- | --------------------------------------------------------------------------------------- |
| `admin` | Full access to all endpoints including settings, user management, and delete operations |
| `member` | Can trigger parsing and search. Cannot access admin endpoints |
Default credentials on a fresh install are `admin` / `admin`. Change them immediately from **Settings > Change Credentials**.
## Anonymous Access
Certain operations can be allowed without authentication. Configure them from **Settings > Permissions**:
| Permission | Default |
| ------------------------- | ------- |
| Anonymous parse / refresh | Off |
| Anonymous delete | Off |
The search (`GET /v2/libs/search`) and context (`GET /v2/context`) endpoints are always publicly accessible unless a global `API_KEY` environment variable is set, in which case every endpoint requires a bearer token.